Photo by Jasmin Schreiber on Unsplash
If you have a little extra time and a few craft supplies, creating something impressive for your home is not as hard as it sounds. Check out three simple DIY wall decor pieces that no one would ever guess are homemade.
Popsicle Stick Shelf
You can pick up popsicle sticks in bulk at any craft store or craft department, but you can also get the kids involved and just collect a bunch of your own. The popsicle stick shelf project involves taking those sticks, staining them with your choice of wood stain, and then allowing them to dry before you get started. Make a hexagon-shape using six sticks and gluing them one by one at the corners. You will repeat this process about a dozen times until you have about 12 individual hexagons. Then, stack the hexagons on top of each other and glue them together. Allow the piece to dry and you have yourself an attractive wall shelf to hold a small succulent in a pot or some other small decorative object.
Vintage Plate Picture Frames
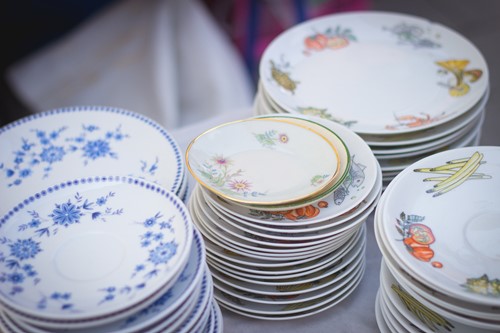
With some fancy vintage plates from a thrift store, laser copies of family photos, and some Mod Podge, you can create a unique arrangement that can either be displayed on a shelf or displayed on a wall that looks like it came straight from a home decor magazine. Here's what the process looks like:
For an added touch of flair, use something like a metallic glue pen or some tiny bead embellishments to create a frame of sorts around the picture. These vintage plate picture frames are an excellent way to add a touch of familial personality to a dining room.
Cutout Hearts Wall Art Hangers
Even if you don't consider yourself a crafty person, cutout hearts wall art hangers are super simple to do. You'll need:
Tie each string to the piece of wood in even intervals apart. Using scissors or a paper punch, cut out a series of hearts from your paper. Use the strings on the wooden piece to determine how many hearts you will need for each string. Each heart can be glued onto the strings until they are full. This is best to do on a good flat surface so you can leave the hearts lying flat against the strings until they dry. When dry, you can attach the wooden stick on the wall using nails or two screws. The hearts will flow gracefully downward and sway with the slightest movement in the room.
About the Author

